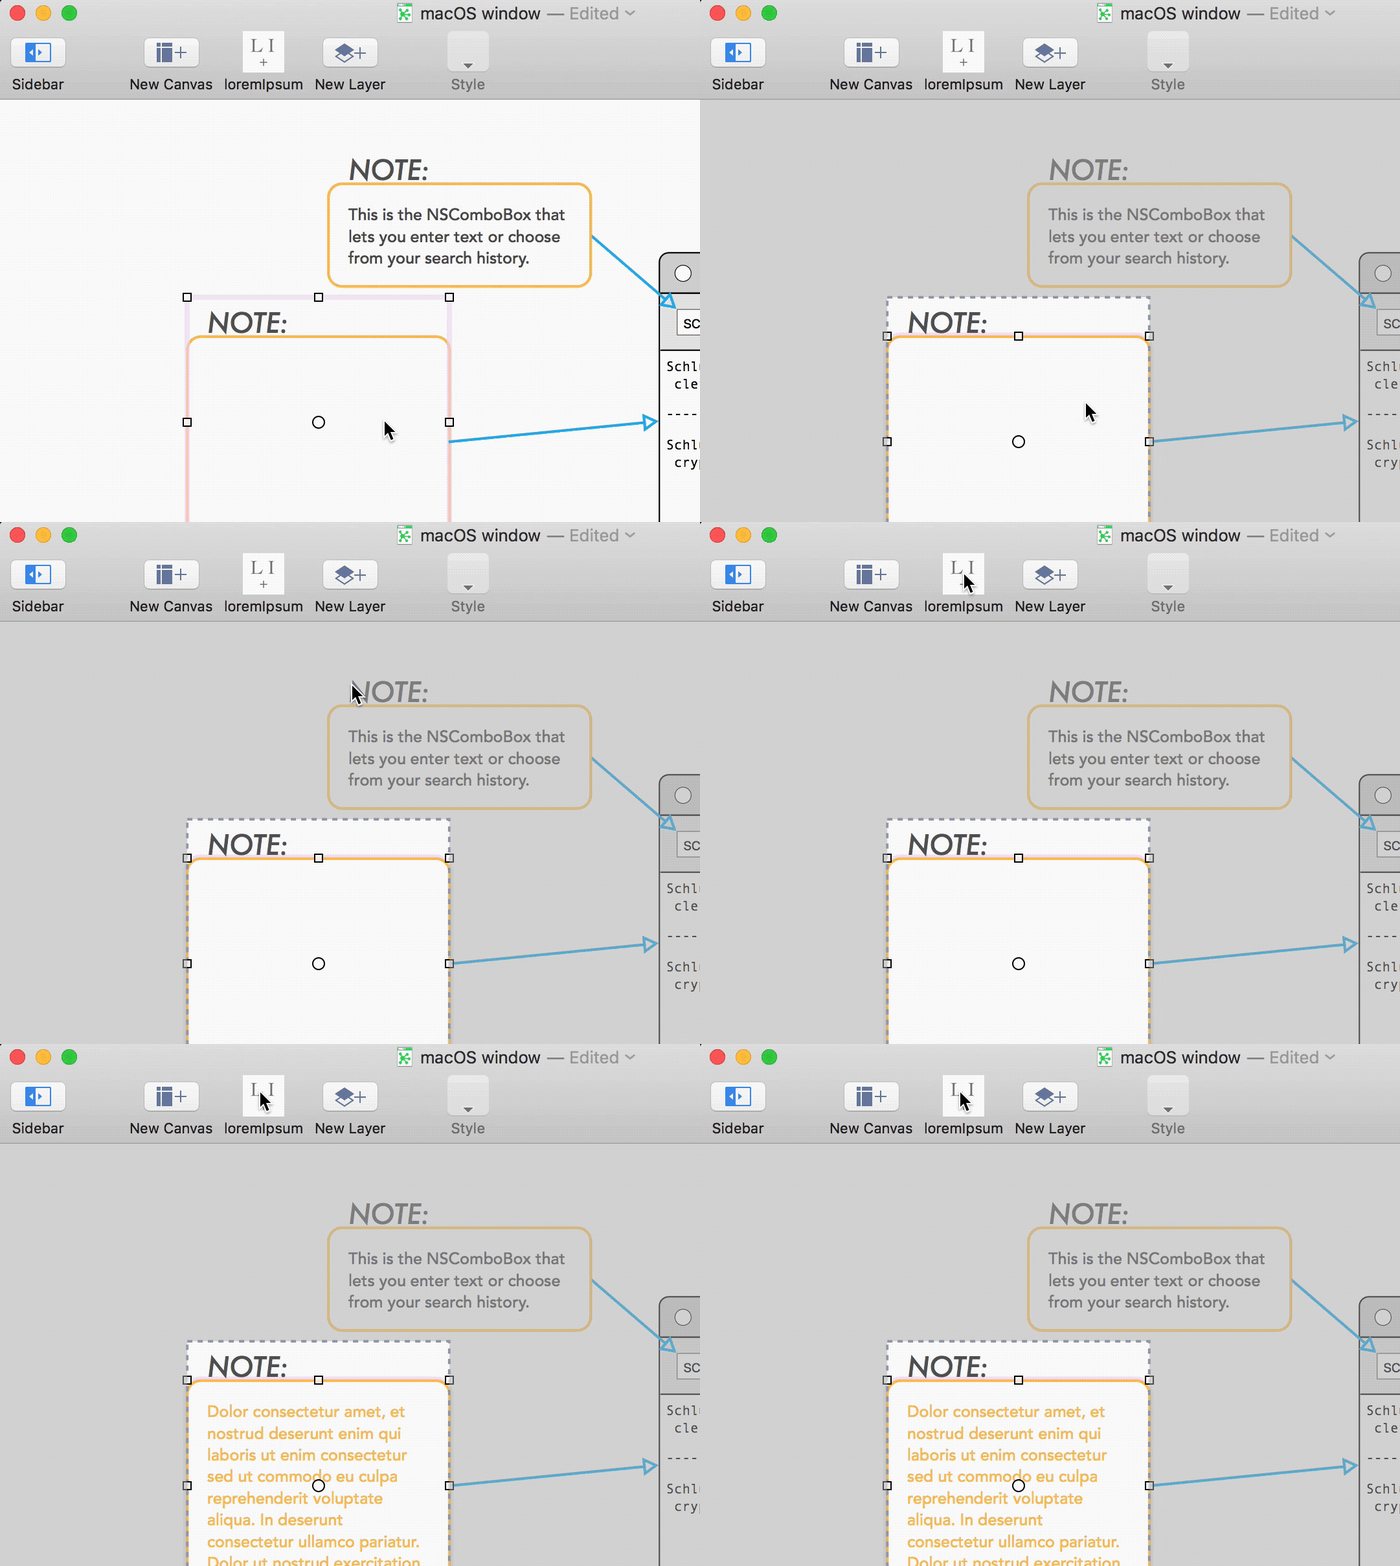
Just recently introduced in OmniGraffle 3 for iOS and OmniGraffle 7.4 for Mac, Omni Automation exposes a brand new interface of OmniGraffle. Powered by JavaScript, users will be able to create, bundle, and share Plug-Ins to use on both platforms. Putting together simple actions that benefit your own workflow should be approachable for advanced coders and beginners alike.
Our hope is that within a year or two there will be a thriving assortment of Plug-Ins that perform all kinds of tasks, automatically, with a little help from a toolbar button.
This is an introduction to the world of Omni Automation: we’ll cover how to write the code necessary to generate Lorem Ipsum text, how to bundle it up as a Plug-In, and how to share that Plug-In with OmniGraffle for iOS and others.
Getting started with JavaScript and Omni Automation
In both OmniGraffle for Mac and iOS, we’ve added a Console that allows you to directly interface with your canvas (and all aspects of your document) by entering lines of code. For starters, let’s just see which version of OmniGraffle is installed: select Show Console via the Automation menu and type `app.version`. Hit return, and you’ll see OmniGraffle’s version number—that’s it. We didn’t really accomplish much, though, so let’s add a shape to the canvas!
Copy and paste this line:
document.windows[0].selection.canvas.addShape('Circle', new Rect(0,0,200,200))
You’ve just added a new, 200 x 200 pixel circle the current canvas.
If we went one step further and assigned that object a variable name, we could make changes to the same object by referencing CircleOne:
CircleOne = document.windows[0].selection.canvas.addShape('Circle', new Rect(0,0,200,200))creates a new ShapeCircleOne.strokeThickness=5changes the stroke thickness from1to5CircleOne.geometry = new Rect(100,100,200,200)changes the X and Y origin to x = 100 and y = 100
And that’s….pretty easy! You can find more documentation about Objects, rects, and everything else by selecting API Reference via the Automation menu.
Starting up the script!
Let’s move on to creating our script that generates random Lorem Ipsum text. To keep everything in one spot, create a new file in your favorite text editor. The Plug-In we’re going to create is going to take a selected object—some sort of shape, whether it’s a square or circle or star—and add random bits of text as filler. Commonly, that’s Lorem Ipsum text and it helps facilitate a better-looking mockup.
First, we need to generate some of that Lorem Ipsum stuff. With the help of lukejacksonn’s Lorem.js, it won’t take long. I wrapped it up in the loremIpsum() javascript function below.
function loremIpsum() {
// Amount of words required
var length = 30;

// Helper functions
var charAtEndOfOut = function(char, step) {
return out.indexOf(char, out.length - step - 1) !== -1;
}
var randomWord = function() {
return words[Math.floor(Math.random() * (words.length - 1))];
}
var capitalize = function(word) {
return word[0].toUpperCase() + word.slice(1)
}

// Dictionary of words
var paragraph = "Lorem ipsum dolor sit amet, consectetur adipisicing elit, sed do eiusmod tempor incididunt. ut labore et dolore magna aliqua. Enim ad minim veniam, quis nostrud exercitation ullamco laboris nisi ut aliquip commodo consequat. Duis aute irure dolor reprehenderit voluptate velit esse cillum dolore eu fugiat nulla pariatur. Excepteur sint occaecat cupidatat non proident, sunt in culpa qui officia deserunt mollit anim est laborum.",
words = paragraph.split(" "),
word = "",
out = capitalize(randomWord());

for (var i = 1; i < length; i = i + 1) {
//Select random word from paragraph
word = randomWord();
out += " ";

//Append to out, capitalize first letter if necessary
out += (charAtEndOfOut('.', 1) || charAtEndOfOut('?', 1)) ? capitalize(word) : word.toLowerCase();
}

//Append full stop to the end of string, strip punctuation if necessary
out = (charAtEndOfOut('.') || charAtEndOfOut(',') || charAtEndOfOut('?')) ? out.slice(0, -1) + "." : out + ".";

return out;
};
Next, after the function, we need to get the details of the currently selected object:
currentObject = document.windows[0].selection.graphics[0]But! We still need to make sure we’re adding text to the selected object. After currentObject = document.windows[0].selection.graphics[0], add this line:
currentObject.text = currentObject.text + loremIpsum()
That line adds the random text to the object, but also adds it after any text already in the object. (So if you need to fill up a super big text box, just keep on activating the script.) You can test the script by copying everything in that script file and pasting it into OmniGraffle’s Console.
Now we just have to bundle everything up into another—special—function before adding it to OmniGraffle as a Plug-In. We only want OmniGraffle to do something with our script when we have an object selected, so let’s wrap everything inside this bit of code that tells the app “I’m only used with a selected object.”:
var _ = function(){
var action = new PlugIn.Action(function(selection){
// if called externally (from script) then generate selection object
if (typeof selection == 'undefined'){selection = document.windows[0].selection}


// Insert entirety of the script here.

});

// Optional validation function. Omit to always return true.
action.validate = function(selection){
// if called externally (from script) then generate the selection object
if (typeof selection == 'undefined'){selection = document.windows[0].selection}
// status check, such as are graphics selected?
if (selection.graphics.length > 0){return true} else {return false}
};

return action;
}();
_;
Creating a shareable Plug-In
OmniGraffle requires a specific set of assets before recognizing a Plug-In as legitimate. At the very least, we’ll need to create a new folder with a barebones manifest.json file, a simple icon for the toolbar, and the script. (Plug-Ins can also be localized; for full details, visit Sal’s page on Plug-Ins.)
Let’s start with the manifest.json file, which lives inside the folder you just created:
{
 "author": "Omni Group",
 "identifier": "com.derekreiff.lorem",
 "version": "0.5",
 "description": "Add Lorem Ipsum text to a selected object.",
 "actions": [
   {
     "image": "loremipsum.png",
     "identifier": "loremIpsum"
   }
 ],
 "defaultLocale": "en"
}
Super easy! There’s an author, an identifier, a version number, description, and the action itself: the image is for a toolbar button, and the identifier is the name of the javascript file (minus the .js) for the action. (Technically, what we just wrote is in action.)
With the manifest.json file in place, create another folder: Resources. Drop in the JavaScript file you created, along with an icon file (appropriately named)!
Finally, rename the folder to loremipsum.omnigrafflejs. This tells macOS the thing you’ve just created is a Plug-In that OmniGraffle should open. Double-click it and you’ll have a pretty darn useful Plug-In installed! Customize your toolbar, looking for the appropriate action & icon, and then try it out with an object selected.

Adding the Plug-In to OmniGraffle 3 for iOS
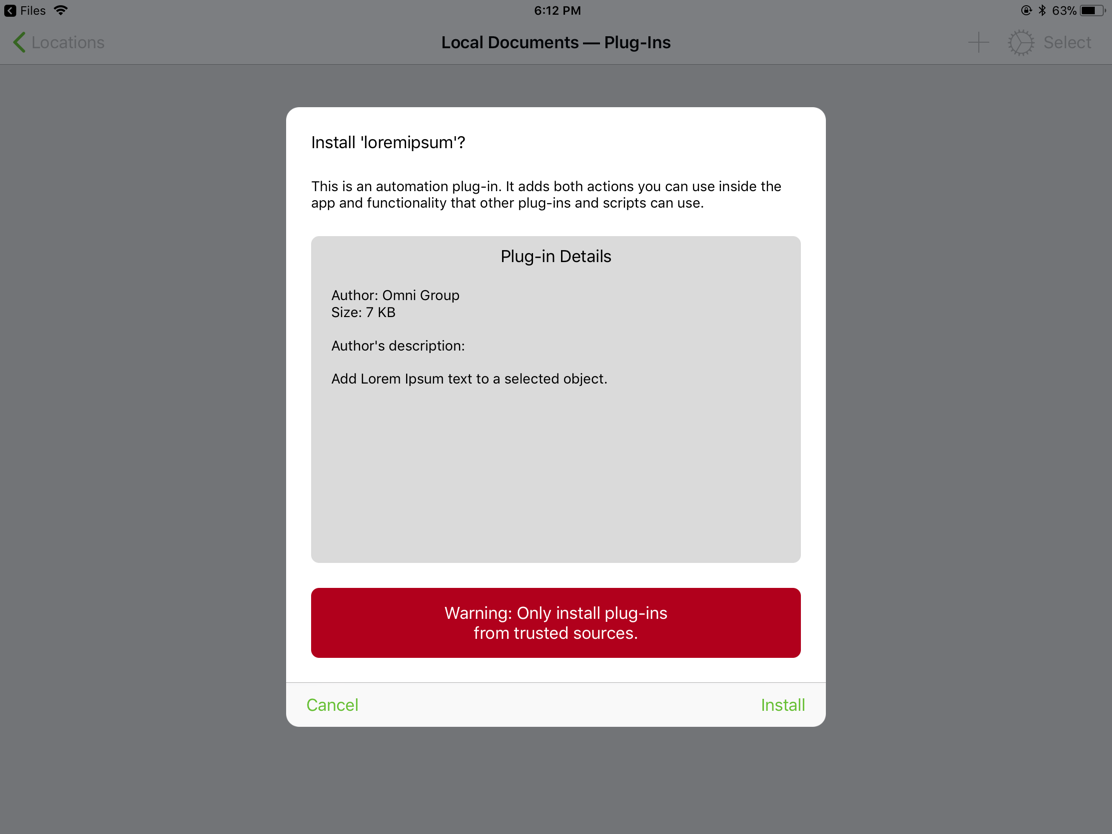
First, make sure you’re running OmniGraffle Pro. Try sending the Plug-In over to your iPad or iPhone via AirDrop; that’s pretty easy. You can also sync it over via OmniPresence. OmniGraffle will ask if you’re sure, but we’re sure!

Have ideas for Plug-Ins? Created any? Tell us all about them!