How to Get All the Magnets

In OmniGraffle, lines connect to the centerpoint of an object — unless you add magnets.

Adding magnets is pretty easy. Here’s what to do:

  • In the View menu, make sure magnets are visible: make sure View > Extras > Magnets is checked.
  • Select a shape, then click on the Properties Inspector.
  • In Connections, pull down the menu for adding magnets. It probably says “No magnets” right now.
  • Choose the last item: “5 magnets per side.”

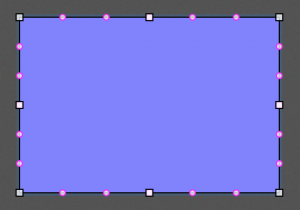
Your shape now looks something like this, with five magnets on each side.

Square shape with five magnets per side.

That’s a lot of magnets!

That’s probably even *enough* magnets. But what if it’s not?

How to get more magnets

Let’s say you want ten magnets per side. You already have five. Do this:

  • Hold down the shift key.
  • Pull down that same menu again and choose “5 magnets per side.”

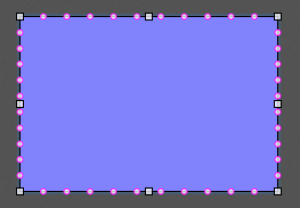
Now you have ten.

Square shape with ten magnets per side.

That’s the tip: if you hold down the shift key, it adds magnets instead of changing the magnets property.

And you could keep going — it works more than once. Add as many magnets as you need!

More info

Read Adding Magnets to Objects in the OmniGraffle manual for more about why and how to use magnets.

How to Treat Images Like Shapes (Because They Are)

When you import an image into an OmniGraffle document, you can of course move it and resize it. But did you realize you can do everything that you can do with shapes?

That’s for a simple reason: an image is a shape. It’s a shape that has an image — but it’s still a shape.

Stroke

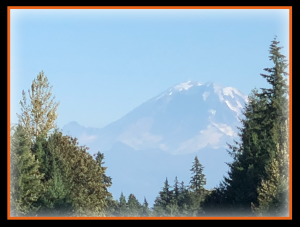
Select the image and then, in the Stroke inspector, choose a stroke style, thickness, and color. You end up with something like this:

Screenshot showing a picture with a stroked border.

Shadow

Want a shadow? No problem. Shadows are cool.

In the Shadow inspector, pick a shadow casting style, size, and color. Here we’ve used a white inner shadow:

Screenshot showing a picture with a stroked border and an inner shadow.

Rotation

Since it’s a shape, can it be rotated like a shape? Yup.

In the Geometry inspector, find the rotation control — it’s like a circle with a dot in it. You can twirl the control or just type in the field next to it to specify number of degrees.

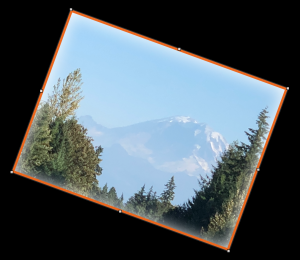
We’ve rotated the picture 20 degrees:

Screenshot showing a picture rotated 20 degrees.

Shape

Here’s the most fun part. Shapes can be changed — that is, you can turn a rectangle into a circle, and so on.

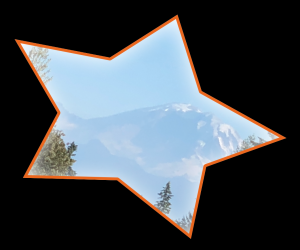
In the Shape inspector, click the shape type button, and choose the star shape. You end up with something like this:

Screenshot showing a picture clipped to a star shape.

And, of course, you can also adjust the shape, add text, and so on. See Working with Inspectors in the OmniGraffle manual for more about what you can do!

Using Math in the Geometry Inspector

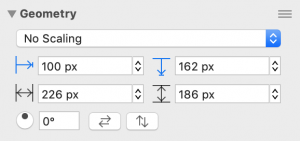
In the Geometry Inspector you can view and edit the position and size of an element. This is a handy thing — but there are a couple tricks you may not know about.

Screenshot showing OmniGraffle Geometry Inspector.

Math

The fields in the inspector work kind of like mini-calculators. Let’s say you want to change the width so that your object is exactly half the width it currently is.

You could do the math in your head, or you could open a calculator app — or you could do it right there in the inspector.

Where the width field might say “472 px”, just add “/2” at the end, so that it reads “472 px /2.” Then hit return.

The width field now says “236.”

Let’s say that you want to add 10 pixels: select inside the field and add “+10” at the end. And now it says “246.”

To subtract, use the – character; to multiply, use the * character.

(Note: plain old “10 + 10” doesn’t work — the first number needs to specify units. “10px + 10” works.)

Mixing units of measurement

Let’s say your unit of measurement is pixels, and you want to stick with pixels.

But you do want a particular element to be horizontally positioned at 2 inches. You could change your units, make the change, then set units back to pixels.

Or you could calculate the conversion yourself.

Or, instead, you could do it the easy way: in the horizontal position field, type “2in” and hit return. OmniGraffle will translate that to pixels for you.

And — bonus! — you can mix this with math. Even though your current unit is pixels, you can add (for instance) three feet: just add “+3ft” at the end, hit return, and OmniGraffle will translate it to the right number of pixels.

Documentation

The Geometry Inspector is pretty smart, and it’s designed to make things easy for you. There’s more to learn — see the OmniGraffle manual’s section on changing object position and size with the Geometry Inspector.

On Saving Time with the Style Tray

Let’s say you’ve made two rectangles, and at first you gave them different colors, and one has a stroke and the other doesn’t — but now you want the second rectangle to have the same styles as the first rectangle.
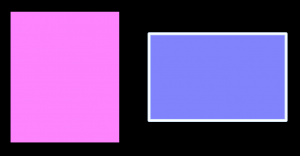
Screenshot showing to rectangles with different styles.

You *could* select the second rectangle and go through the various inspectors and make the styles all match. Manually. With a lot of clicking.

Or you could do it the quick way — by using the Style Tray.

The Style Tray is near the bottom-right of the window. It looks like this. Each item is a Style Swatch.

Screenshot of the Style Tray.

Here’s how you’d make that second rectangle match styles with the first:

1. Select the first rectangle
2. Drag and drop the Style Swatch on the left — the *Summary* Style Swatch — onto the second rectangle

That’s it! You’ve just applied the styles from the first rectangle to the second. Same fill color and no stroke.
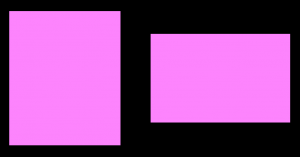
Screenshot showing two rectangles with the same styles.

The key thing to know is that the Summary Style Swatch includes *all* the styles for the selected object. You can even hover your mouse over the Swatch to see, in a help tag, a quick list of the styles it contains.

How to Match Just One Style

Let’s rewind to those two rectangles with different styles. What if you want the second rectangle’s fill color to match the first rectangle — but you don’t want *all* the styles to match?

Here’s where the other swatches in the Style Tray come in. These contain individual styles, rather than combining them all into one.

Look again at the Style Tray near the bottom-right of the window. Note the group on the right with multiple swatches.

Screenshot of the Style Tray.

Here’s how to use it to make the second rectangle’s fill color match:

1. Select the first rectangle
2. Drag the Fill Color style — the first chit in the right-hand section — from the Style Tray on top of the second rectangle

You’ll probably be able to pick out the Fill Color style pretty easily: it will be the color you’re looking for. But, in case not, you can hover your mouse over each chit in the Style Tray, and a help tag will say what it represents.

And now you have this:
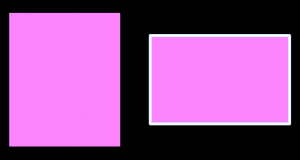
Screenshot showing to rectangles with the same Fill Color style.

Note that the fill color changes, but the stroke style remains the same.

That’s it!

It’s Not Just Rectangles!

This example uses rectangles and Fill Color just to make the point. This feature is not limited to rectangles or to that one style, of course.

The Style Tray works for anything that can be styled: other shapes, text, lines, and so on.

And it’s a huge time-saver.

For more details — because there’s plenty more you can do! — read the OmniGraffle manual on Applying Object Styles with the Style Tray.
OmniGraffle 7.7 Improves SVG Import and Export

For the past month, the OmniGraffle team has been concentrating on improving and expanding SVG support for OmniGraffle. Just last week, those changes have been released in the latest update for macOS, OmniGraffle 7.7.

You won’t see the biggest change—we converted the code for exporting from Objective-C to Swift!—but there’s a lot that you will notice.

Better Metadata

  • Unique IDs — OmniGraffle object IDs are now included on each element (object/group/layer/canvas) when exporting to SVG. Object IDs are unique for each canvas but may change between exports. Use “Show object ID numbers in the Layers tab of the Sidebar” in General preferences to see the ID in OmniGraffle.
  • Object Titles — Custom object names are now included in the title element when exporting to SVG. Names can be defined using the Object Data inspector or using the Layers tab of the left sidebar.

Support for Freehand Stroke on Export

For shapes or lines that use a freehand stroke, exporting to SVG will now handle that a lot better. (AKA: it just works!)

Improved Import

  • Dashed Strokes — Added support for the stroke-dasharray attribute.
  • Transparency — Added support for the fill-opacity attribute.

And a lot more

OmniGraffle 7.7 improved support for nested transformations, rotations, margins, text alignment, mixed-group ordering, and a whole lot more. It’s a great update if you ever use SVG import or export! Check for updates.

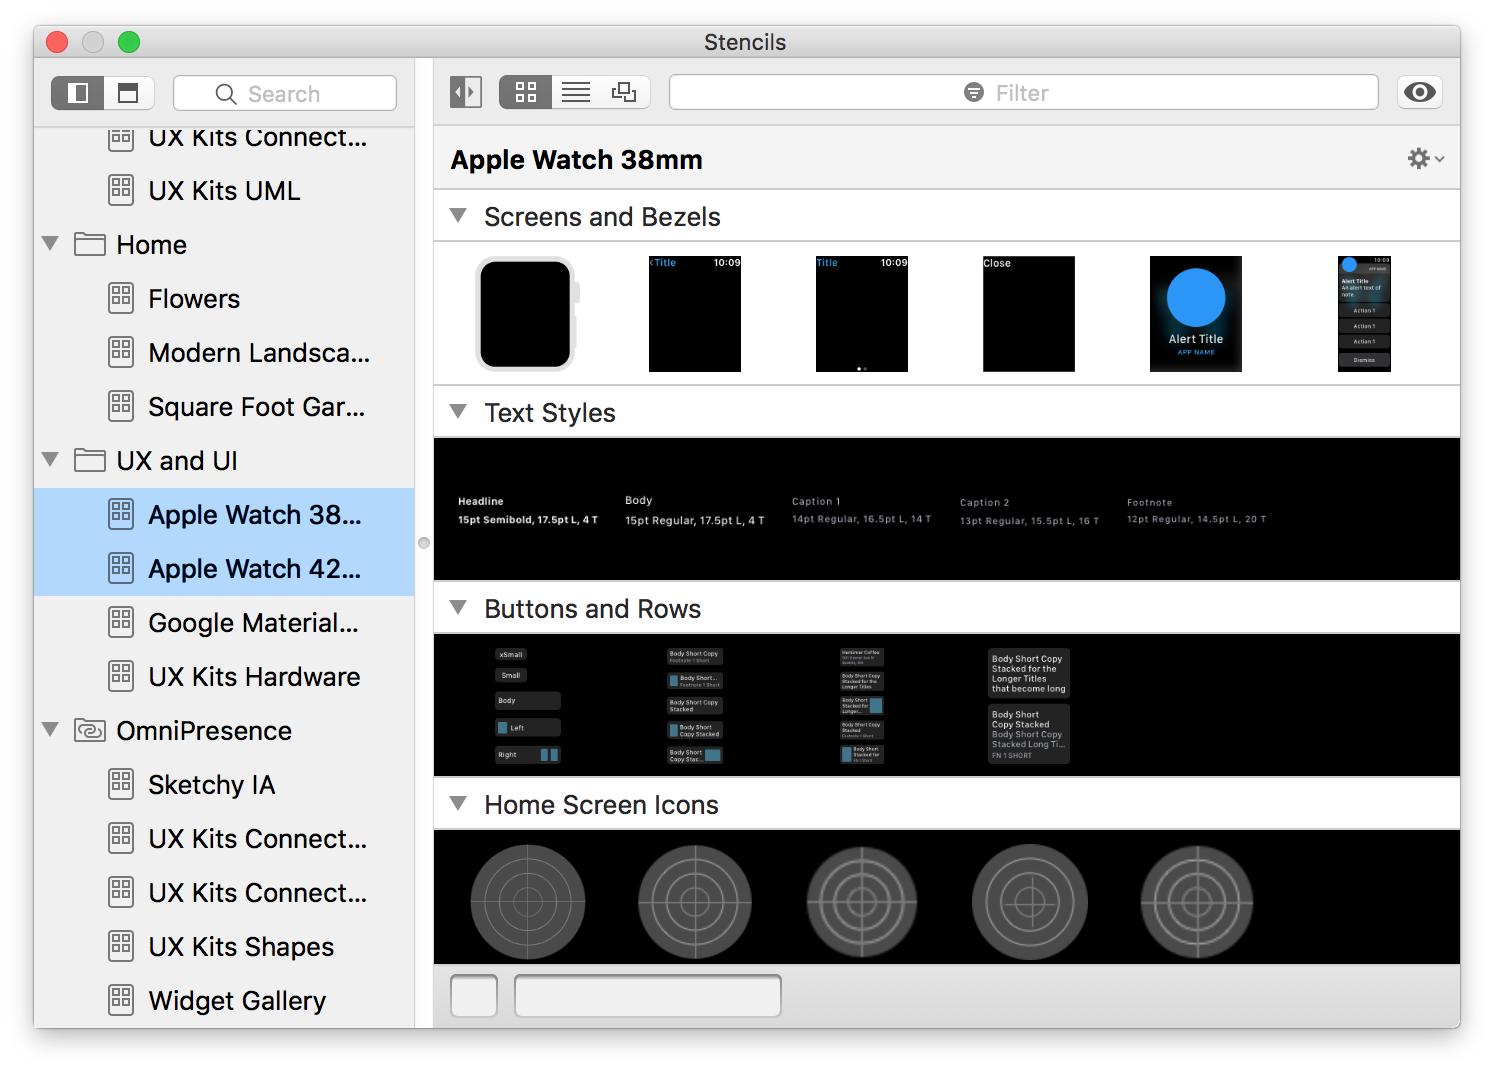
Updated Apple Watch Stencils for watchOS 4

Enough has changed over the past few years with watchOS that we needed to updated our stencil offering for designing new apps, complications, and icons.

Over on Stenciltown you’ll find the updates—separate stencils for 38mm and 42mm watches—designed and organized by UX Kits.

Finally, with the improvements to the Stencil Browser in 7.6, it’s really easy to combine these into one file if that works better for your workflow. (There might be a combined stencil on the way…)

Stencil Browser showing new Apple Watch stencil

Swapping in the new, reorganized stencils from the 7.6 release

Occasionally we update stencils that are included with OmniGraffle in a new release—that’s exactly what we did in the 7.6 update.

One of the things we don’t do, though, is make assumptions about what people want us to do with their existing stencils; people edit, duplicate, and delete stencils for a lot of different reasons. We don’t want to mess with anything that might be interrupt a workflow.

So, if you’d like to install the new stencils we designed around all of our Stencil Browser changes, just move the Stencils folder out of OmniGraffle’s container.

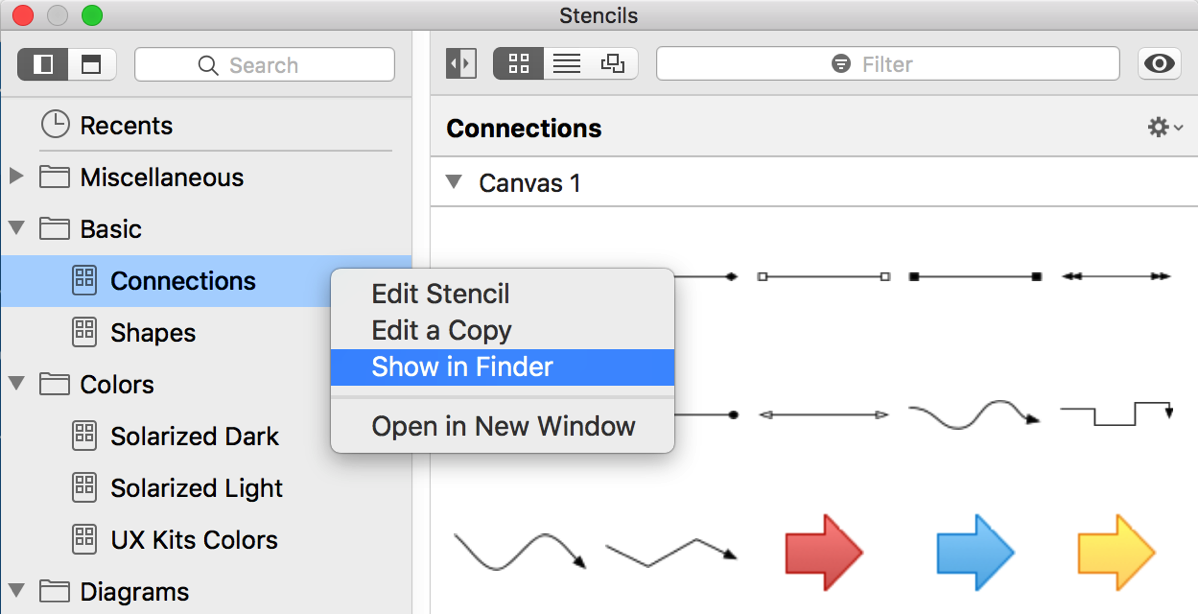
The easiest way to get to your Stencils folder is by Command-Clicking a stencil in your Stencil Browser sidebar and clicking Show in Finder.

Screen Shot 2018 01 19 at 12 37 58 PM  2

Once in your Stencils folder, move up the directory until you can drag the Stencils folder on to your Desktop. (Or elsewhere.) The next time you relaunch OmniGraffle, we’ll re-create that folder with all the restyled stencils.

If you’ve edited other stencils, or downloaded quite a few from StencilTown, or created your own, just grab them from the Stencils folder you moved to your Desktop.

Set new tool defaults in OmniGraffle

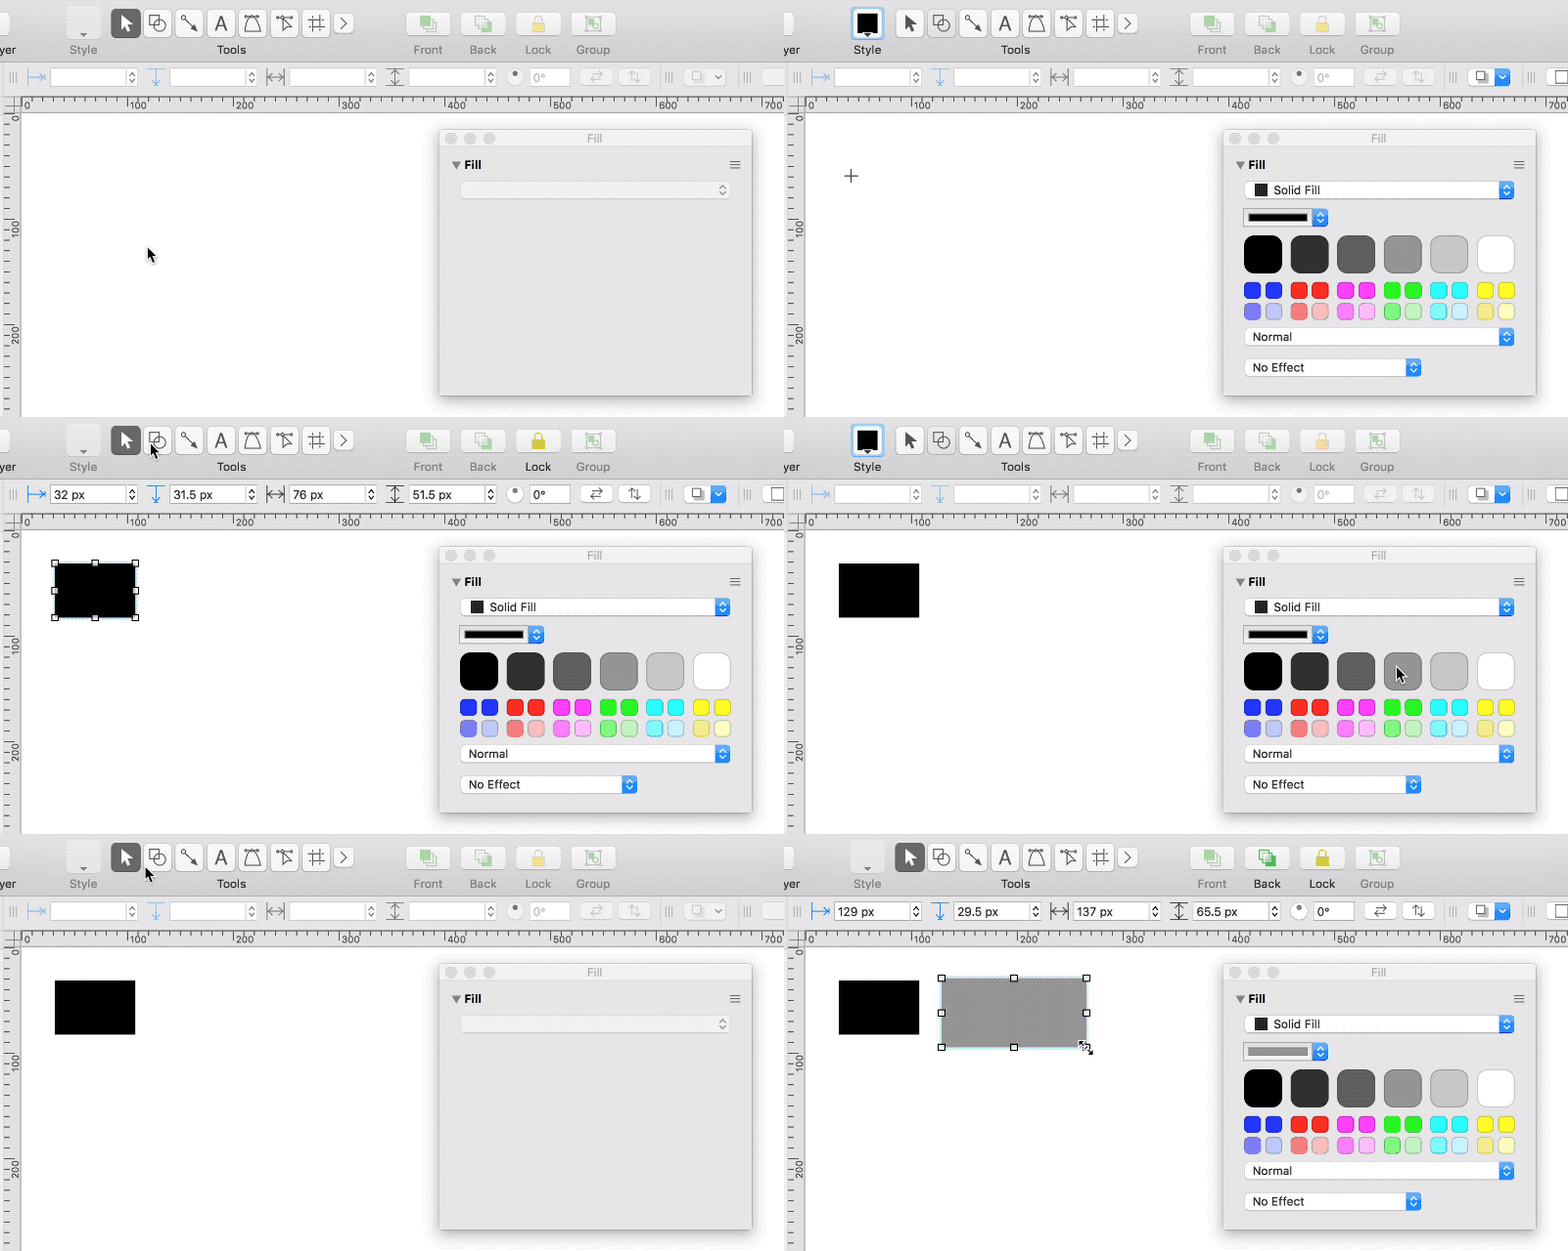
In OmniGraffle for Mac, we’ve set up each of the tools to include what we think are sensible defaults: a 1px border around a shape and 16 pt Helvetica Neue font, for example. To change any of the defaults that a shape or text field might carry with it, simply Option-click the tool, then change the property fields in your Inspectors.

Check it:

OmniGraffle 7.6: The Big Stencils Update

Today we released OmniGraffle 7.6, a major update that aims to bring power and speed to Stencils.

First, the Stencil Browser—which can still operate as a separate window or popover—is now also amenable to being placed in the left sidebar, where you’d normally see your layers, canvases, manual guides, and outline view. This speeds up a number of workflows, one being the “drag out stencil objects quickly while tweaking settings on each one” workflow. Drag; set. Drag; set.

Second, it’s now possible to drag new objects to the Stencil Browser to add them to an existing stencil! This is huge. Let’s say you’ve got a custom set of annotations that you made for a specific project. A few hours after you’ve saved everything, there’s just one more variant to add. Super easy now: select the object, drag it to the Stencil Browser, and you’re done.

Finally, the Resource Browser handles folders like a Pro. You can drag and drop between folders, rename folders, and even create new folders from selected stencils.

There’s more, too. We’ll have additional posts here on Inside to call out all of our new Stencil features, so stay tuned! You can see the entire set of release notes here.

The Timeline Series: a collaboration with Pop Chart Lab

A few years ago, Fast Co Design did a story on Pop Chart Lab’s design process. When we saw the word “OmniGraffle,” our year was made. We love their stuff.

Pop Chart Lab create incredible pieces of art that cover a wide range of “things.” Coffee, the History of Macintosh, the periodic table of elements, the migratory patterns of fresh princes, etc.

A significant amount of their infographics contain some sort of timeline, so we figured they might be willing to help us out with one of our most popular support questions: does Omni have a template to help create a simple timeline?

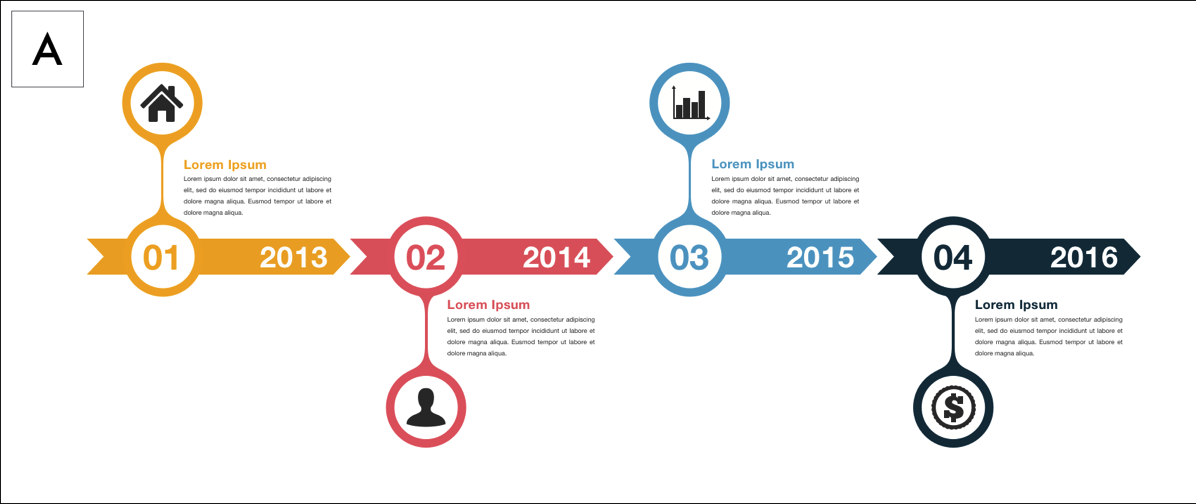
So we asked, and the fine folks at Pop Chart Lab agreed. We’re mostly ready to show off the collaboration. We still need to split this off into additional stencils to make it extensible and … draggable, but it’s a set of three beautiful timelines to get started.

Timeline A

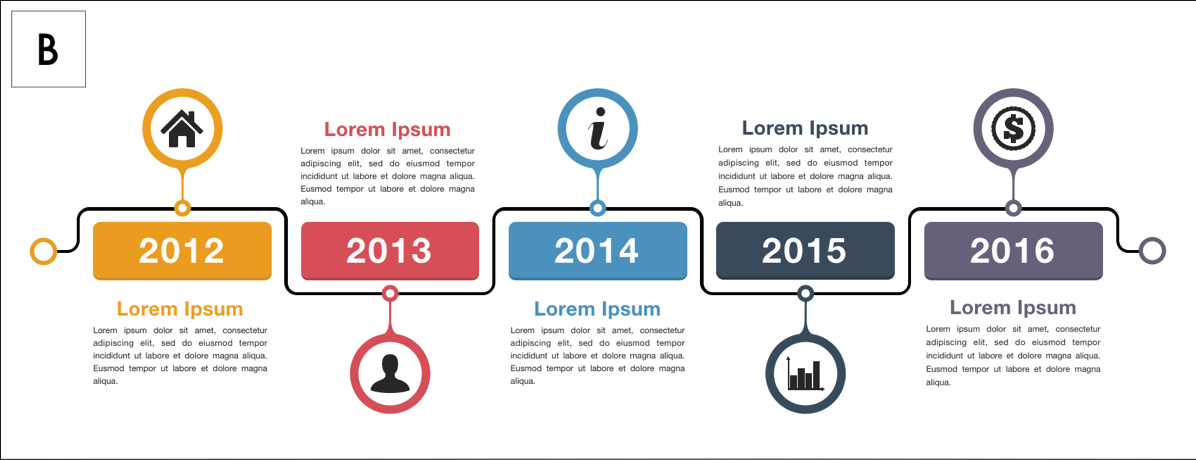
Timeline B

Timeline C

You can download the Graffle file here, and we intend to have something downloadable from Stenciltown shortly. (But feel free to riff off of the three timelines and publish your work!)