Let’s say you’ve made two rectangles, and at first you gave them different colors, and one has a stroke and the other doesn’t — but now you want the second rectangle to have the same styles as the first rectangle.
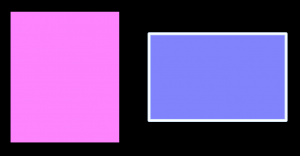
You *could* select the second rectangle and go through the various inspectors and make the styles all match. Manually. With a lot of clicking.
Or you could do it the quick way — by using the Style Tray.
The Style Tray is near the bottom-right of the window. It looks like this. Each item is a Style Swatch.
![]()
Here’s how you’d make that second rectangle match styles with the first:
1. Select the first rectangle
2. Drag and drop the Style Swatch on the left — the *Summary* Style Swatch — onto the second rectangle
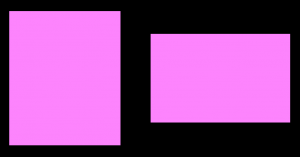
That’s it! You’ve just applied the styles from the first rectangle to the second. Same fill color and no stroke.
The key thing to know is that the Summary Style Swatch includes *all* the styles for the selected object. You can even hover your mouse over the Swatch to see, in a help tag, a quick list of the styles it contains.
How to Match Just One Style
Let’s rewind to those two rectangles with different styles. What if you want the second rectangle’s fill color to match the first rectangle — but you don’t want *all* the styles to match?
Here’s where the other swatches in the Style Tray come in. These contain individual styles, rather than combining them all into one.
Look again at the Style Tray near the bottom-right of the window. Note the group on the right with multiple swatches.
![]()
Here’s how to use it to make the second rectangle’s fill color match:
1. Select the first rectangle
2. Drag the Fill Color style — the first chit in the right-hand section — from the Style Tray on top of the second rectangle
You’ll probably be able to pick out the Fill Color style pretty easily: it will be the color you’re looking for. But, in case not, you can hover your mouse over each chit in the Style Tray, and a help tag will say what it represents.
And now you have this:
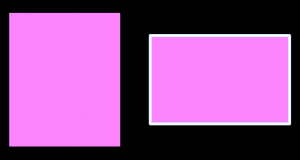
Note that the fill color changes, but the stroke style remains the same.
That’s it!
It’s Not Just Rectangles!
This example uses rectangles and Fill Color just to make the point. This feature is not limited to rectangles or to that one style, of course.
The Style Tray works for anything that can be styled: other shapes, text, lines, and so on.
And it’s a huge time-saver.
For more details — because there’s plenty more you can do! — read the OmniGraffle manual on Applying Object Styles with the Style Tray.