In OmniGraffle, lines connect to the centerpoint of an object — unless you add magnets.
Adding magnets is pretty easy. Here’s what to do:
- In the View menu, make sure magnets are visible: make sure View > Extras > Magnets is checked.
- Select a shape, then click on the Properties Inspector.
- In Connections, pull down the menu for adding magnets. It probably says “No magnets” right now.
- Choose the last item: “5 magnets per side.”
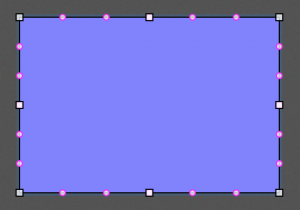
Your shape now looks something like this, with five magnets on each side.

That’s a lot of magnets!
That’s probably even *enough* magnets. But what if it’s not?
How to get more magnets
Let’s say you want ten magnets per side. You already have five. Do this:
- Hold down the shift key.
- Pull down that same menu again and choose “5 magnets per side.”
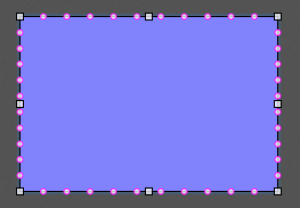
Now you have ten.

That’s the tip: if you hold down the shift key, it adds magnets instead of changing the magnets property.
And you could keep going — it works more than once. Add as many magnets as you need!
More info
Read Adding Magnets to Objects in the OmniGraffle manual for more about why and how to use magnets.